
Learn how to use the Mass Import feature for users!
What's included in this article
Adding New Users via User Upload Tool
Setting up the Import
Click Config > Users.
Click Import from CSV.
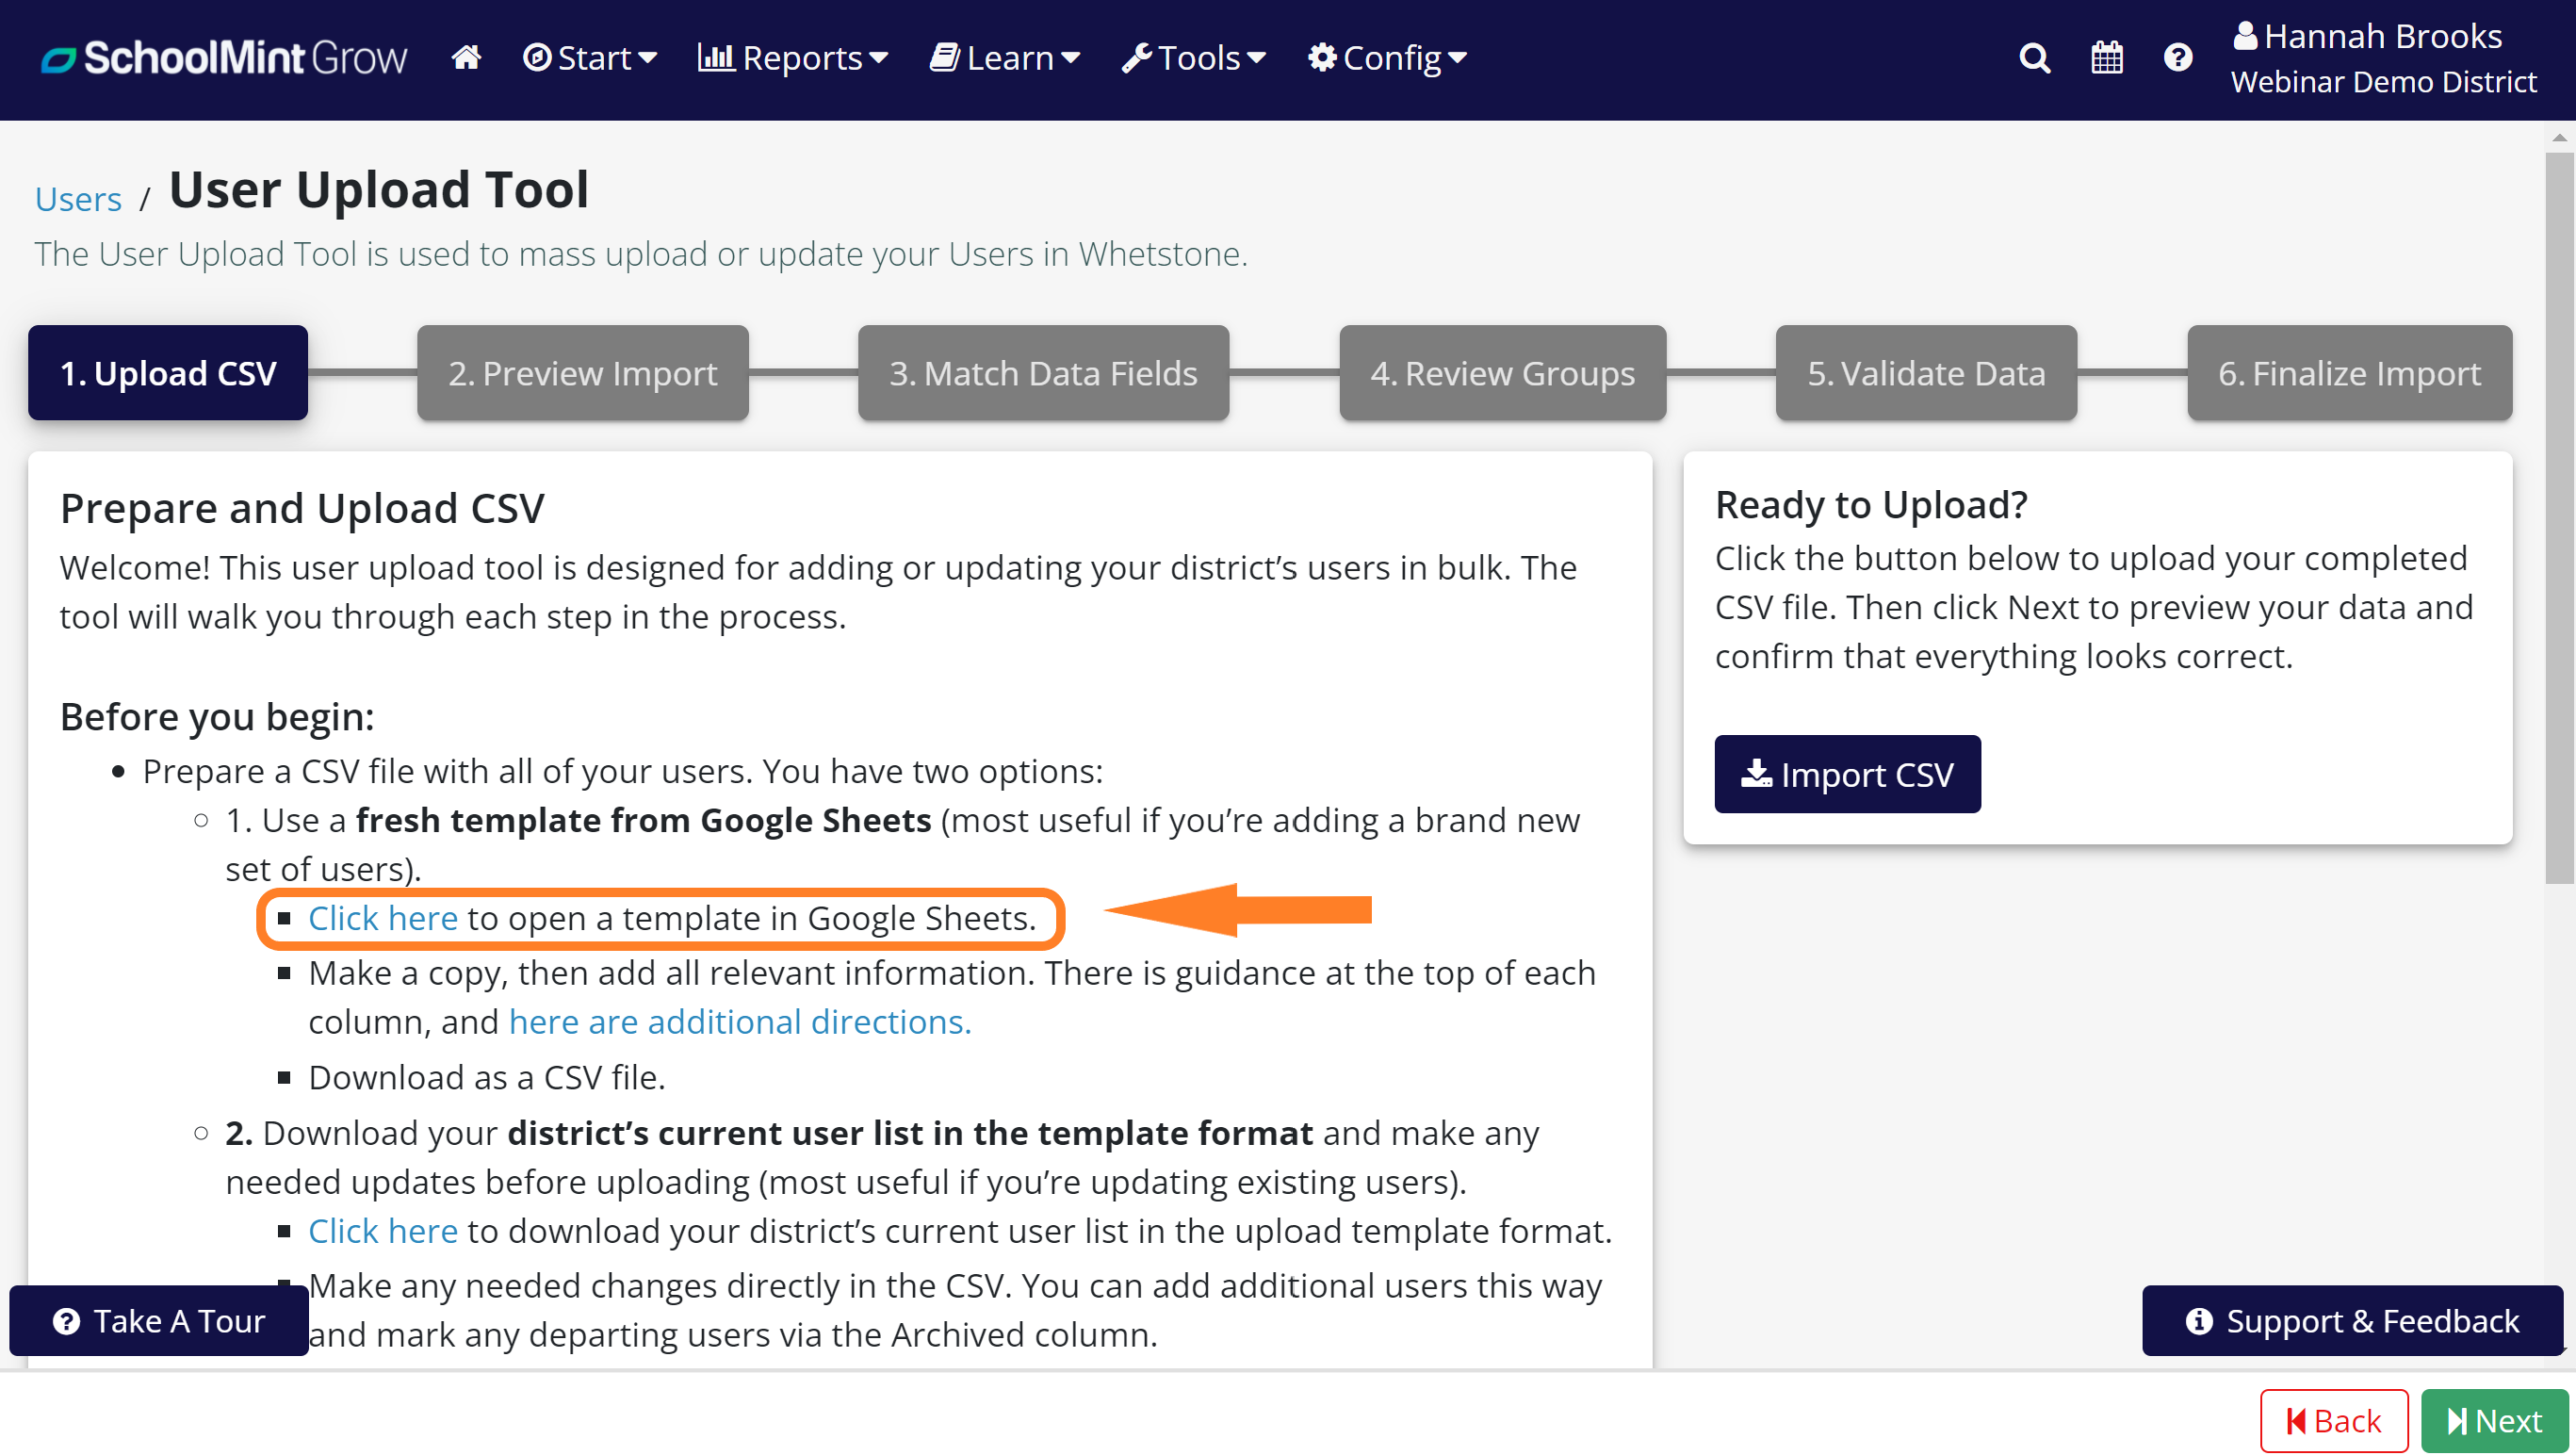
Click the hyperlink under Step 1 to open the upload template in Google Sheets. Make a copy, then add the relevant information. In addition to column notes, you can refer to this article for guidance on filling out the template. Finally, download as a CSV file.
 Importing Users
Click Import from CSV.
On the next page, you can preview your data and edit any details by clicking on that field if necessary. Press Next when you're ready.
Now you will match data fields. The Matching Key is how Grow matches existing accounts and user information to what's provided in the spreadsheet. You can change the Matching Key from the default email in the dropdown to another field like Internal ID, if your district uses that instead. Select Do Not Match for any field that you are not currently using. Once you're all set, press Next.
The next step is to Validate Data and check your CSV for warnings (which won't cause the import to fail but may cause data abnormalities) and errors (which must be corrected before importing). To begin, click Validate Users.
When the validation process is complete, you'll see the total number of users that were successfully validated along with a list of warnings and/or errors. To fix validation issues, click the orange Fix button next to the message. If the fix applies to other users in your CSV, those warnings will be resolved as well. Once you have no error messages, you may click Next.
You're at the final step! Click Import Users to finalize the process. You'll receive an email to let you know the import has been initiated, as well as a confirmation email with the final results of the import. You may stay on this import page to view progress and results, but the import will continue to run in the background no matter what.
Please note that the import time may vary depending on the size of your CSV.
Once you receive the confirmation email that your users were uploaded successfully, you can view them within Schools or on the general Users page. Make sure you verify your upload was successful before you move on to the next step.
Mass Archiving Users
When you need to remove a group of users, use the "Archived" column in the upload template to make updates. For each user you need to archive, change their row from an "N" to a "Y".
Follow the normal upload process after making your changes, and Grow will handle the archiving process from there.
Comments
0 comments
Please sign in to leave a comment.